
This post is a historical account of my fermentation chamber build from 2011, and includes recent updates. Details of this build are scattered around the web, and now they have been brought together in one place.
About a year after I started brewing, I decided it was time to take the next step in making good beer. As many brewers will tell you, one of the best things you can do is implement some form of temperature control.1 I’d already built my four-tap keezer, and since we had recently moved into a house we had enough room that my wife was OK with me taking up more of it with brewing equipment. I was also stepping up to brew 10 gallon batches on my newly built brew stand, so I needed a fermentation chamber that would easily hold my newly minted fermentor: a sanke keg using Brewer’s Hardware sanke converter kit, and fit two of them side-by-side.
My requirements were clear:
- Single stage cooling
- Fit two sanke kegs side by side
- Front loading to avoid excessive lifting of 10 gallon batches
- Fit inside a closet in the den in our house (though it never ended up going in there)
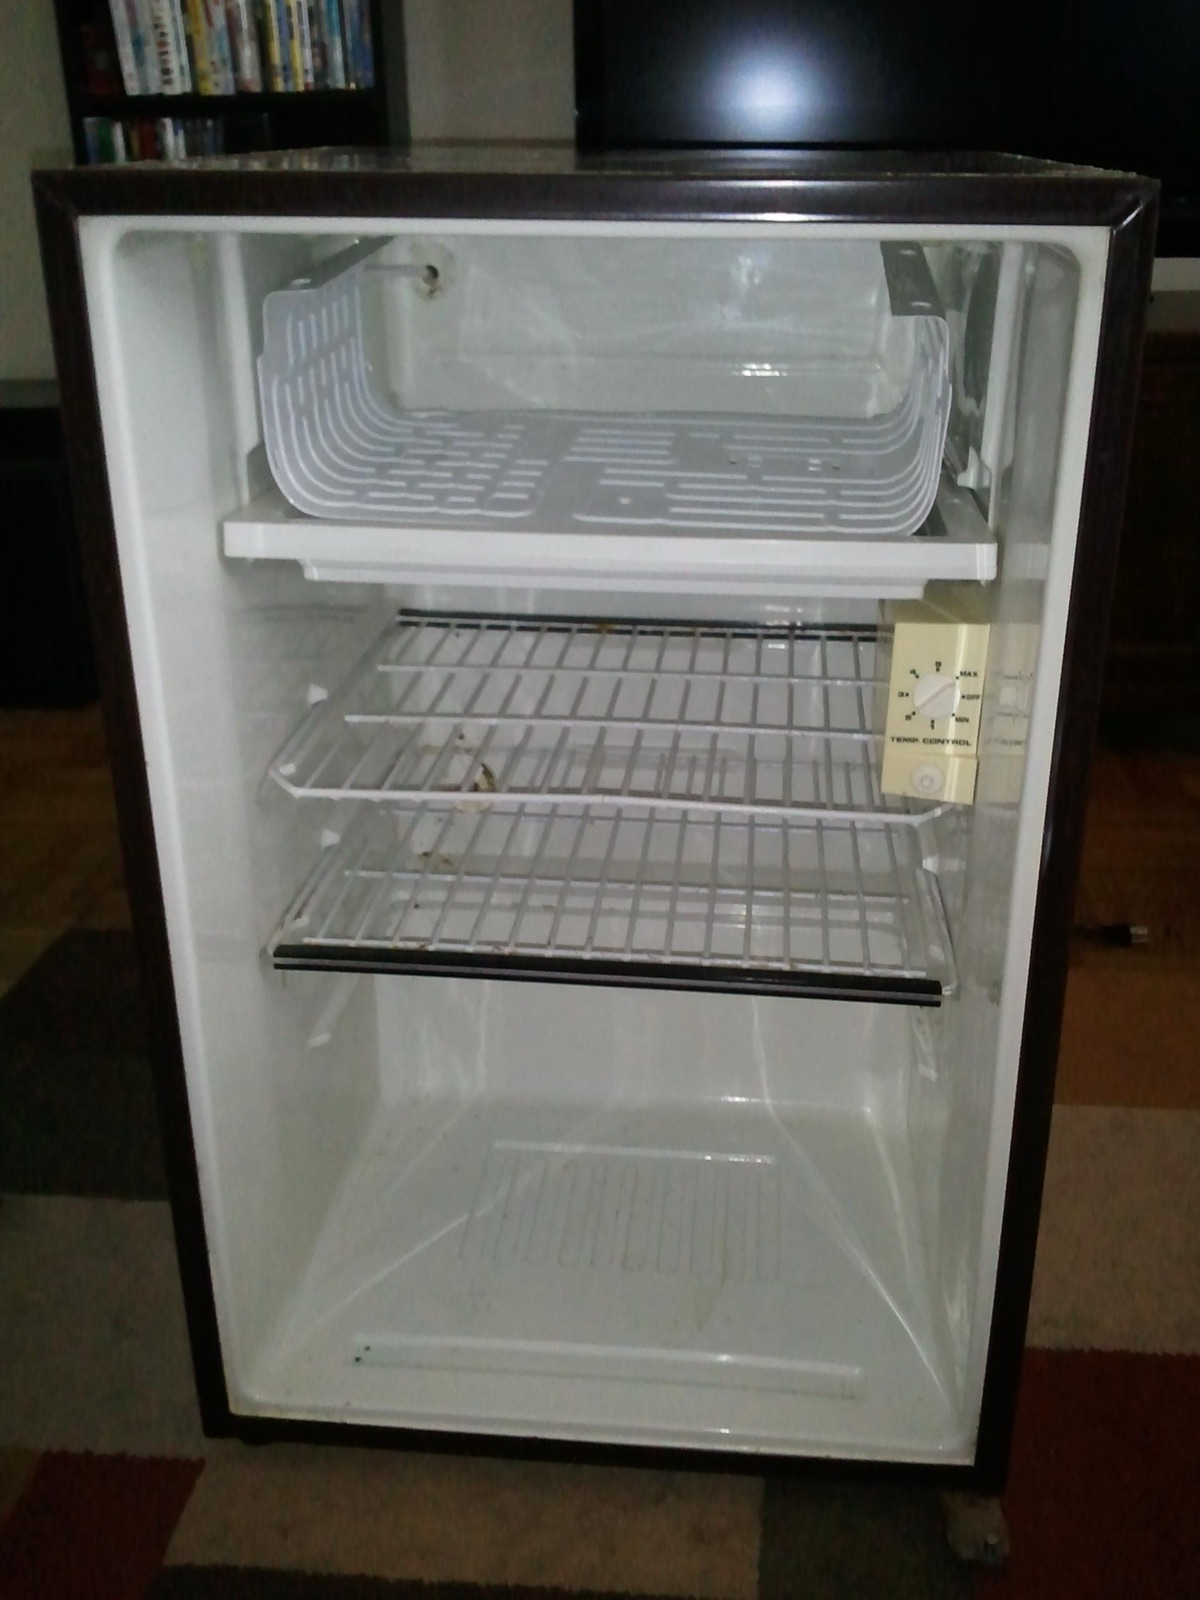
The mini-fridge waiting to be given a new life as a fermentation chamber.
Lets Build a Fermentation Chamber!
The first step to my plan was to locate a mini-fridge form which I could harvest the cooling portion. Newer fridges are built with the cooling coils in the walls, and they would be near impossible to safely dismantle and end up with a usable cooling setup, so my search focused on older units. Fortunately this also meant that the cost would be less, and I found exactly what I needed for $40 on Craigslist. Dismantling the fridge was not as easy as I thought it might be as it was mostly glued together, instead of screwed/snapped as I had hoped. That didn’t stop me for long, however, as I busted out the sawzall and VERY CAREFULLY cut away the pieces of the fridge I did not need to end up with the pieces I did.
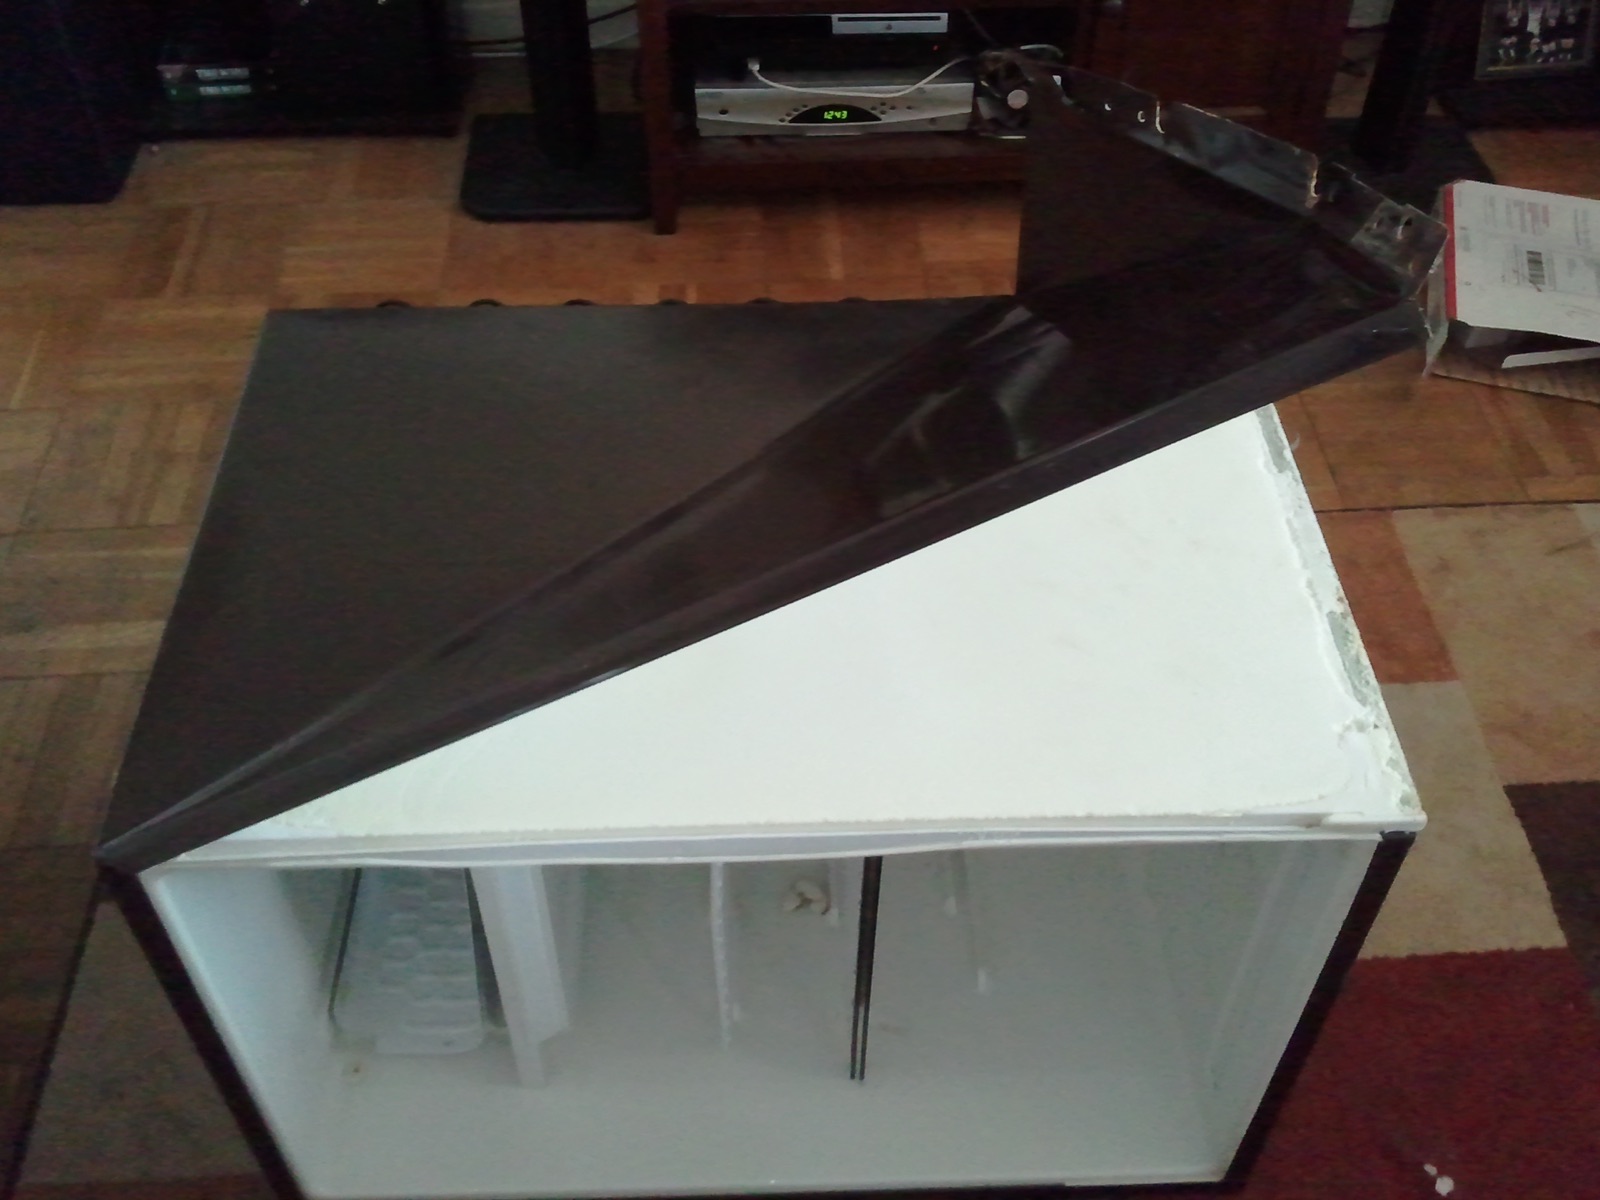
The mini fridge was mostly glued together, making a clean disassembly nigh impossible
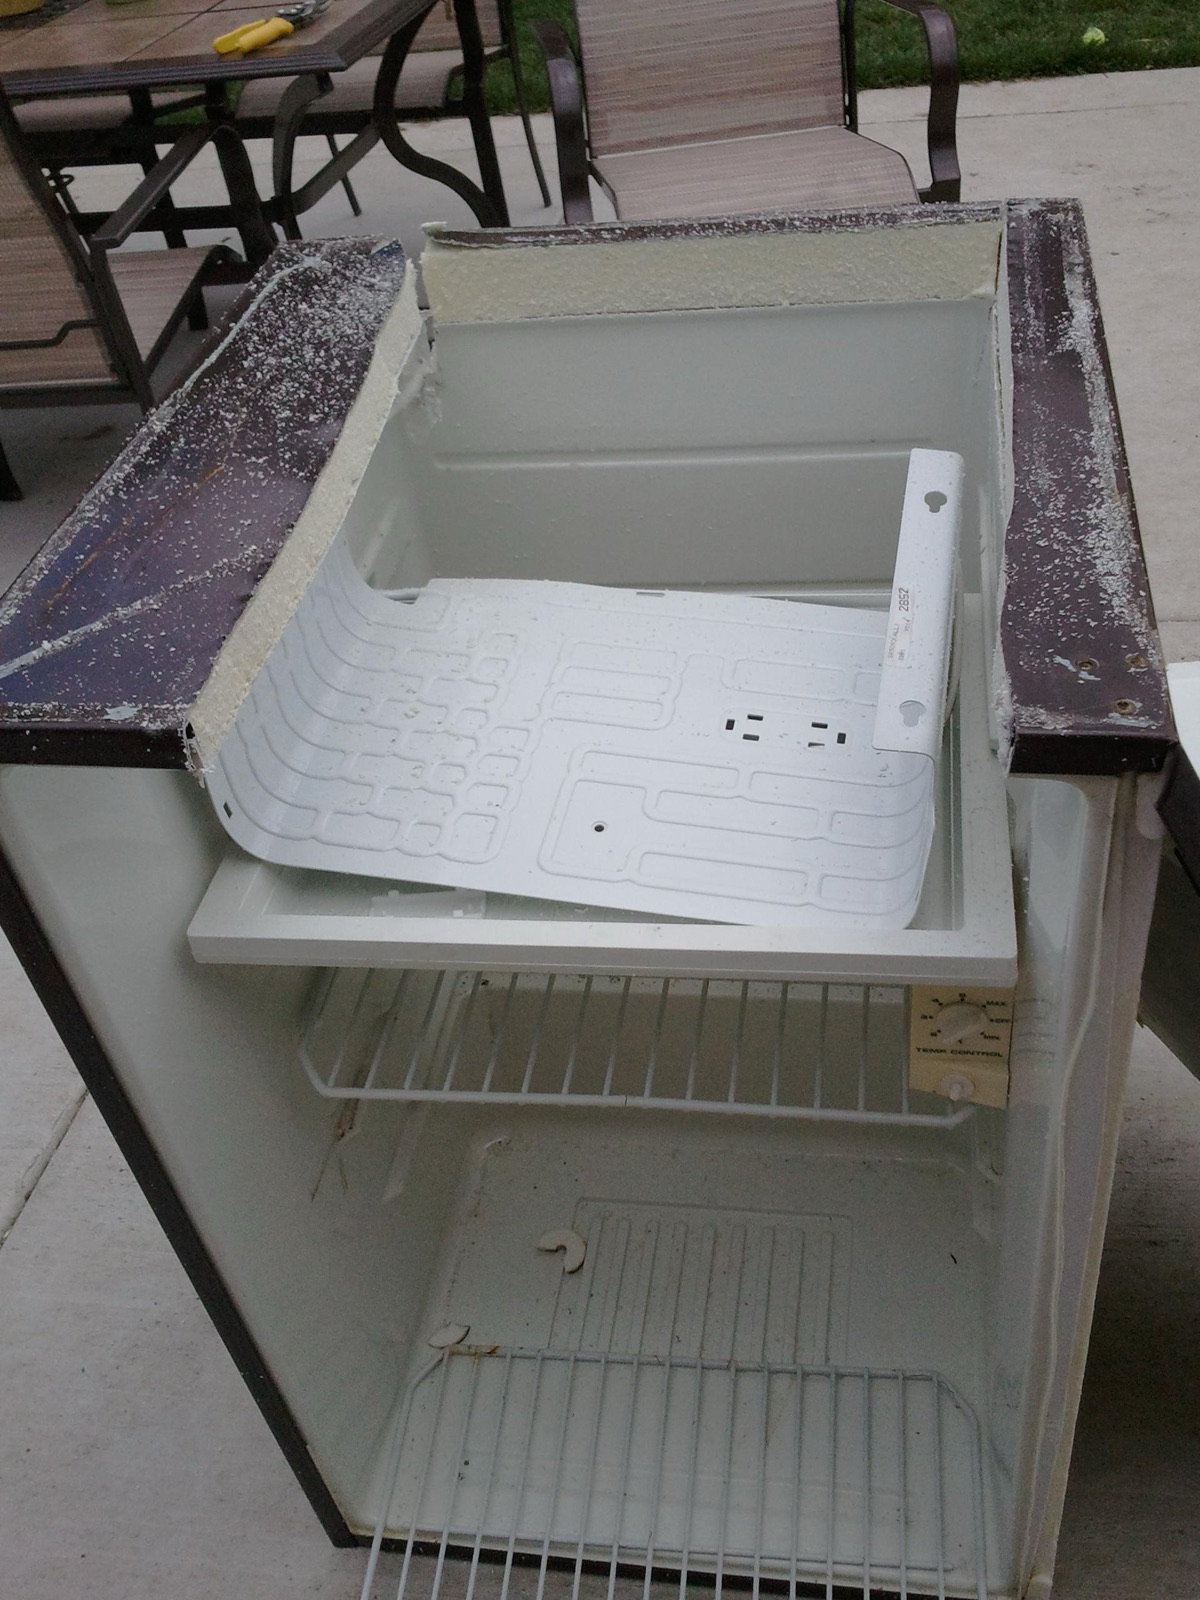
A little glue would not deter me. Out came the sawzall to help me get what I wanted.
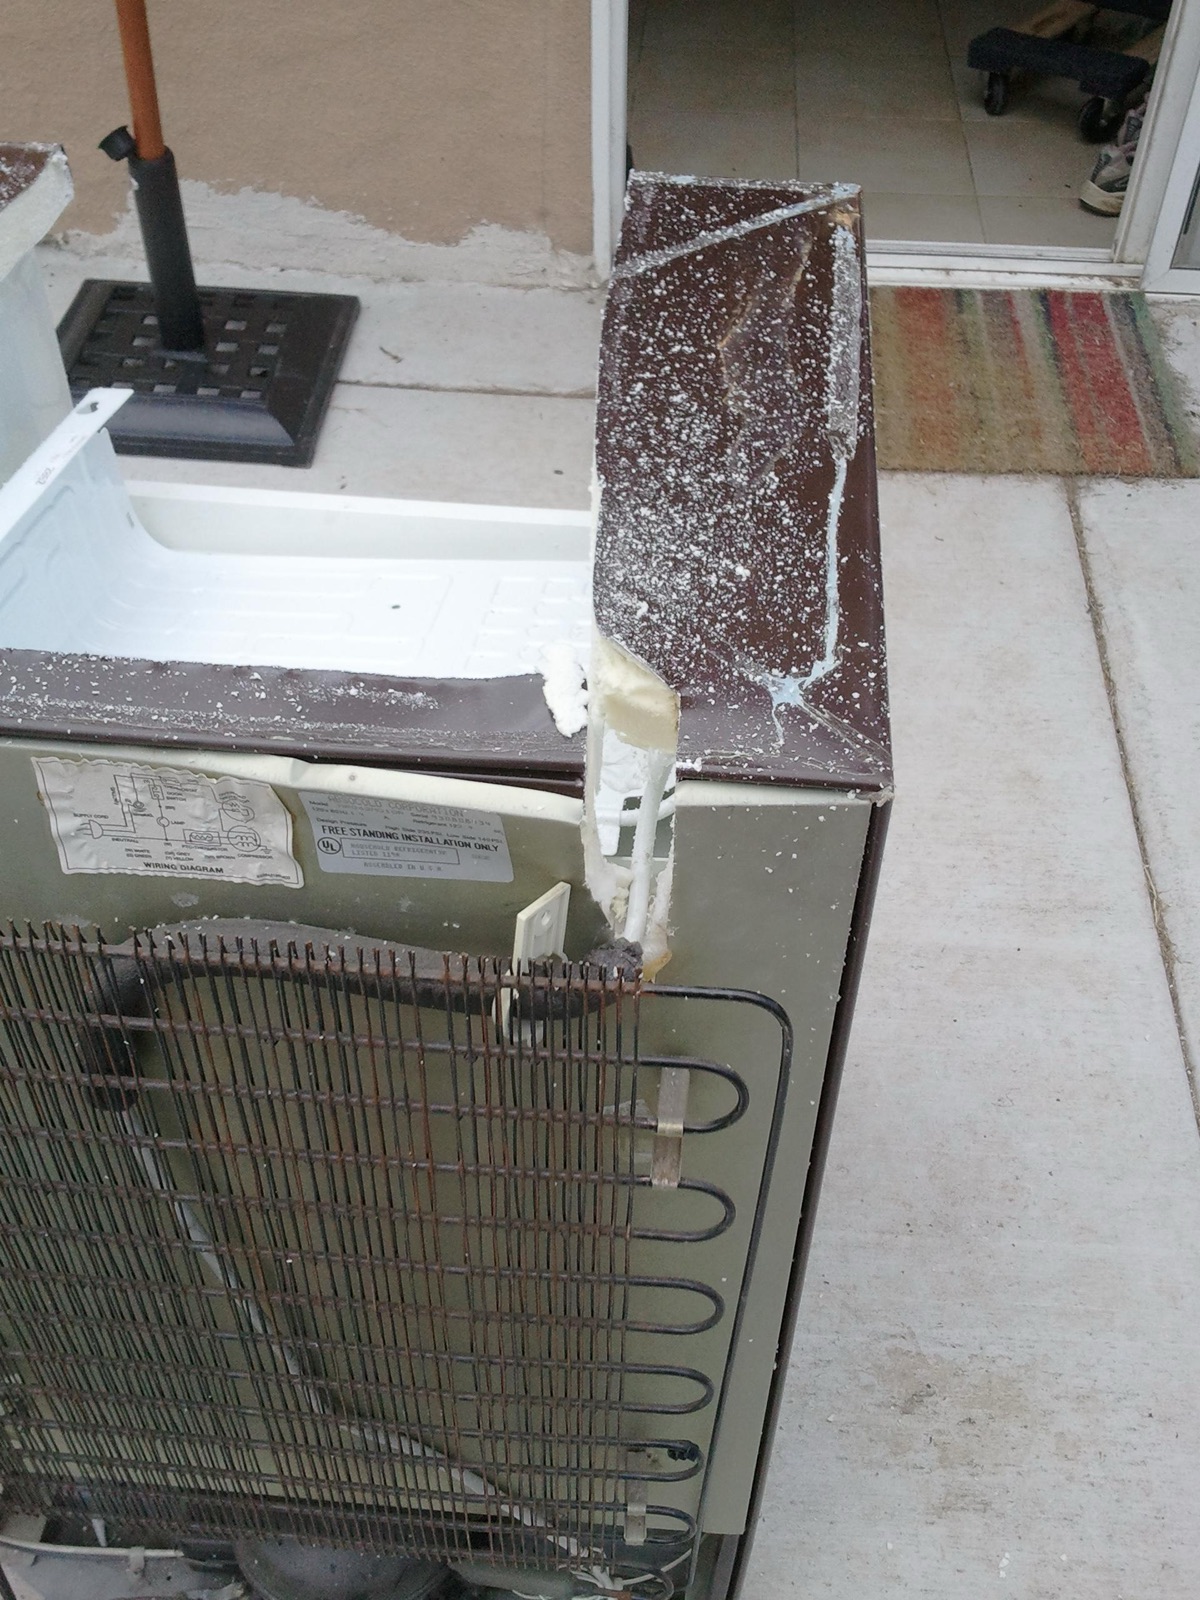
This is one of those times you hope you don’t have an inopportune sneeze.
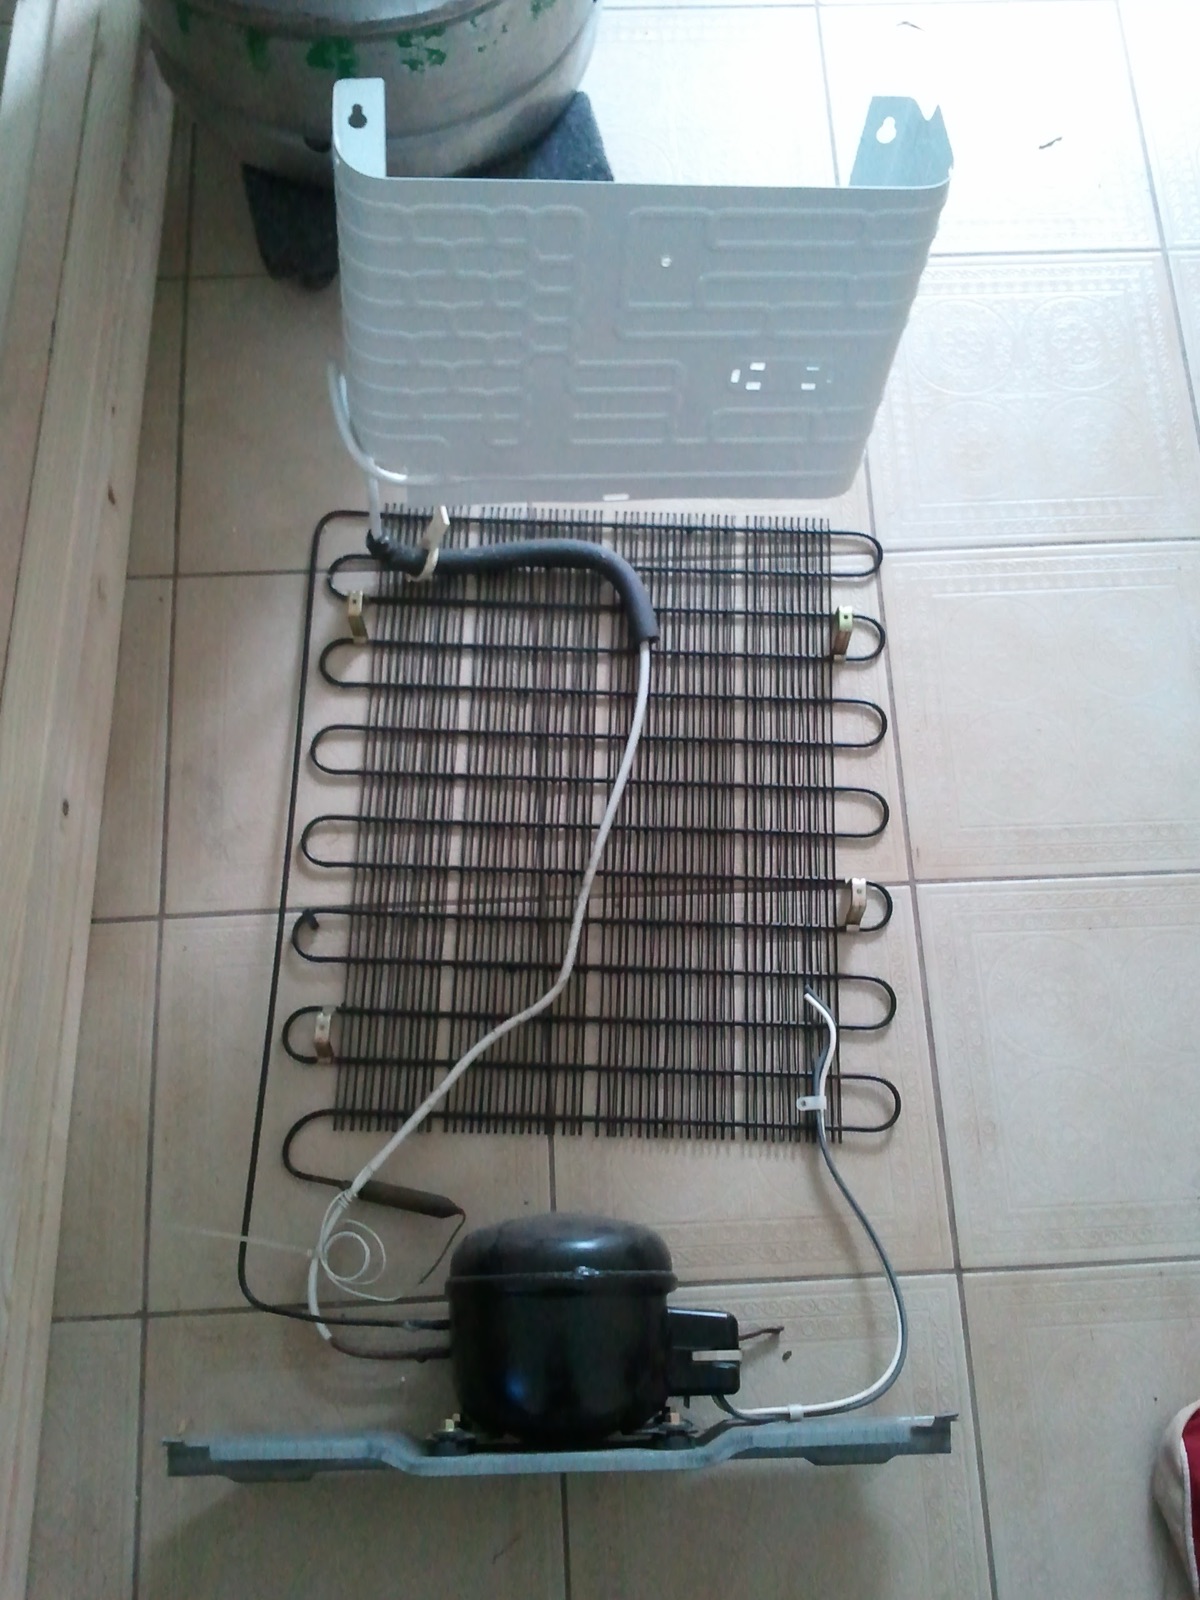
All my hard work paid off and I now had a functional cooling system to build my new chamber around.
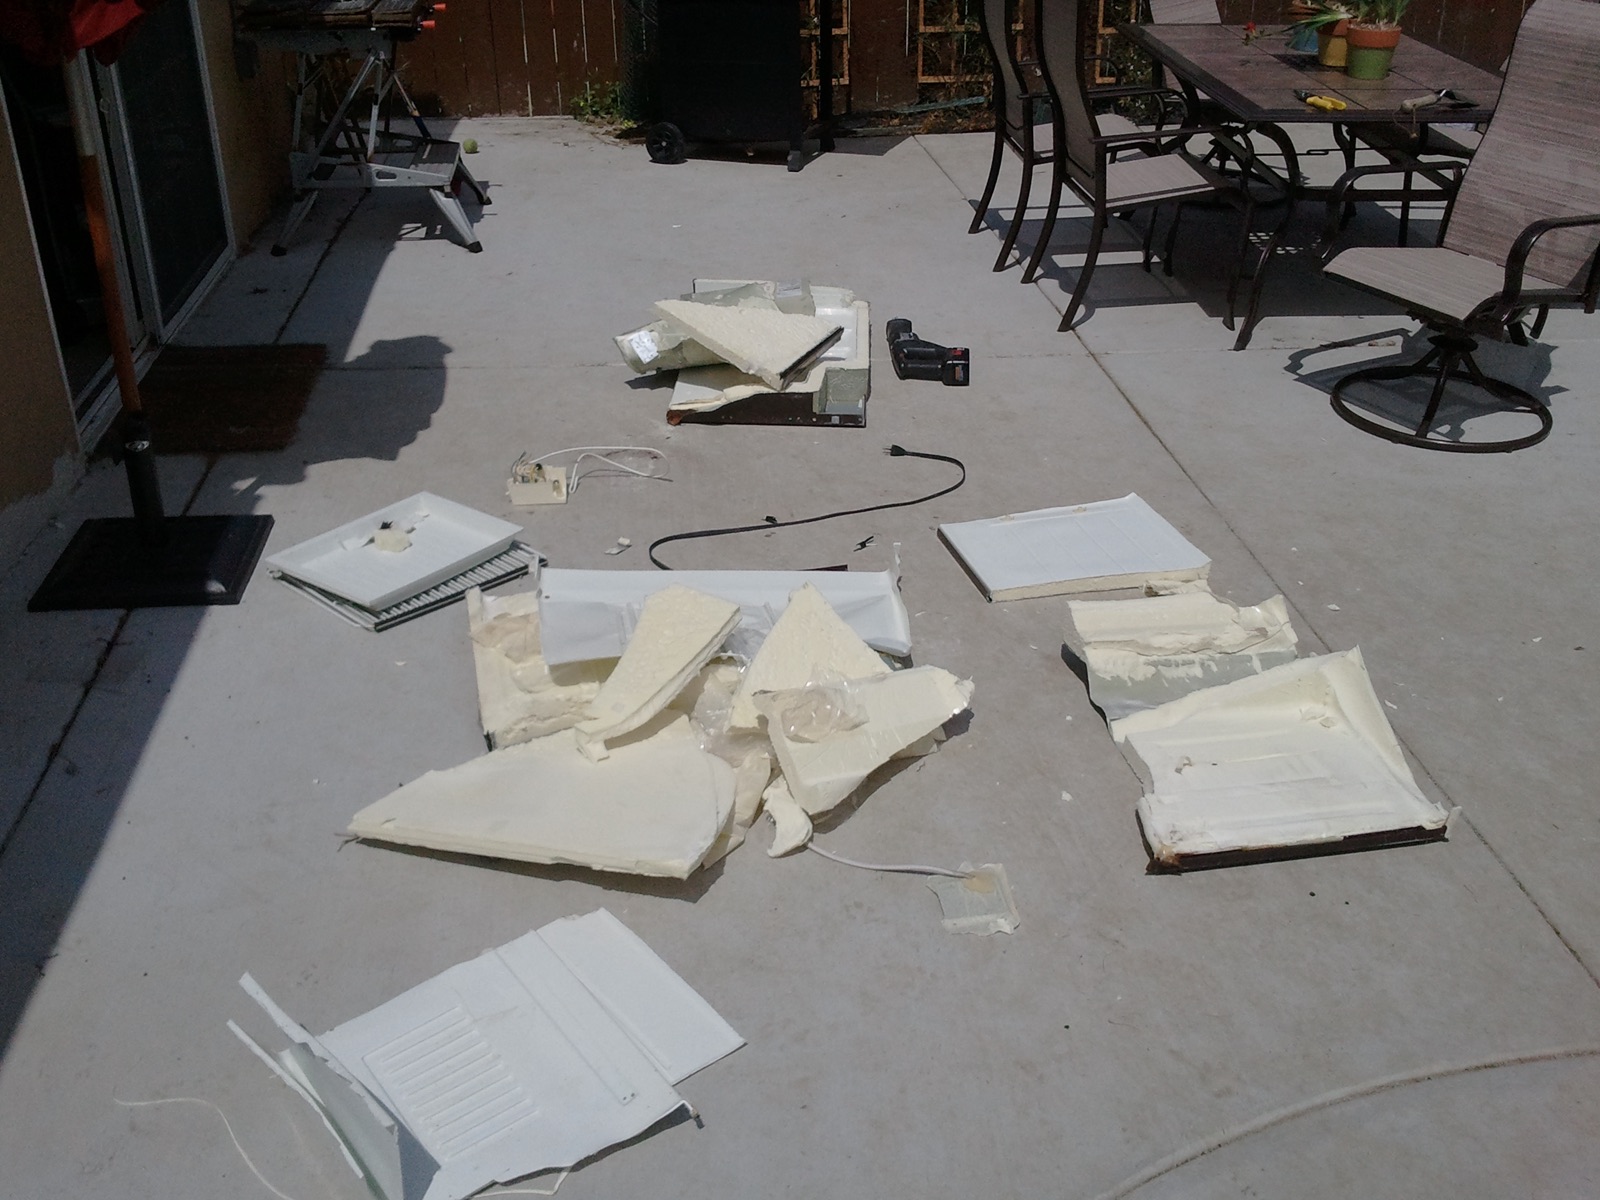
It was a gruesome scene in my back yard that day, but I will always remember the mini-fridge that gave its life to be reborn as a fermentation chamber, in service of the greater good!
With my cooling system safely extracted from it’s previous home, it was time to build the fermentation chamber. After many measurements, and I’m sure more than a few trips to the hardware store, I had the plans laid out for a chamber that would meet my size criteria. Unfortunately I can’t find the plans I drew for it, so you’ll just have to settle for pictures of the build progress instead.
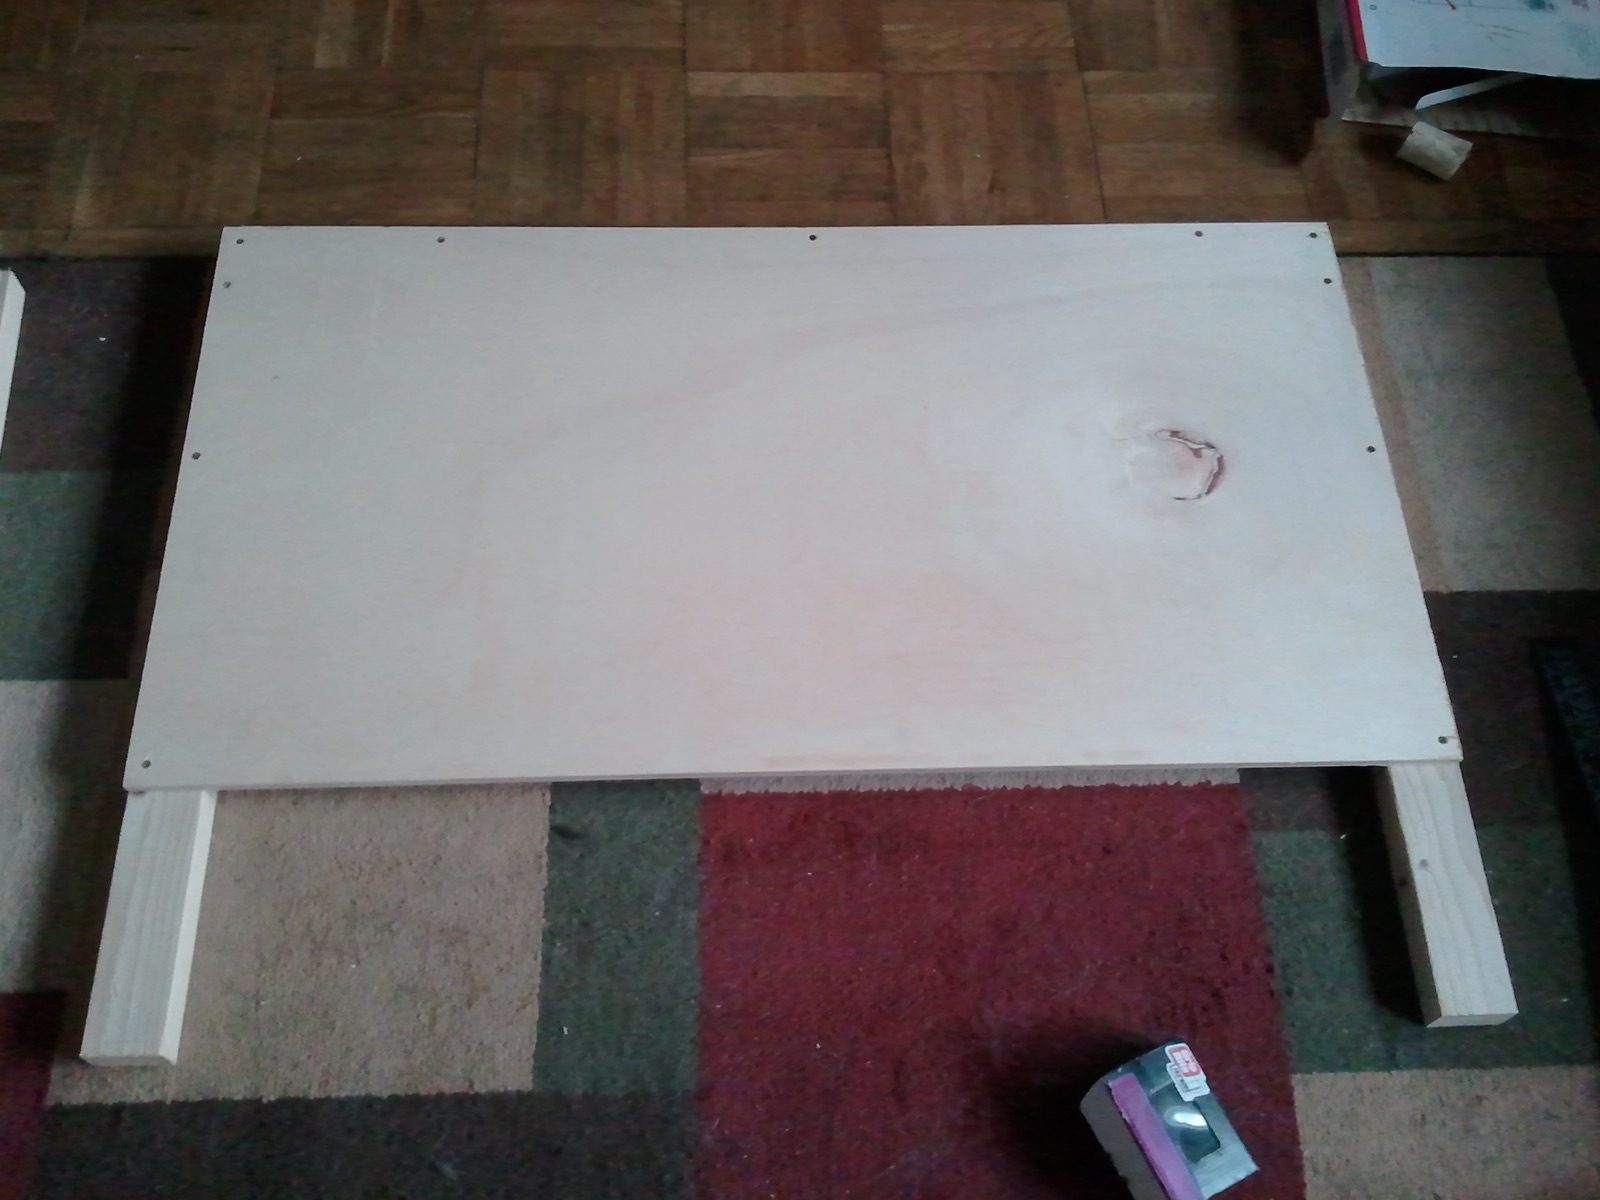
It turned out that the existing lumber sizes would fit my needs perfectly, so I didn’t even have to trim the panels.
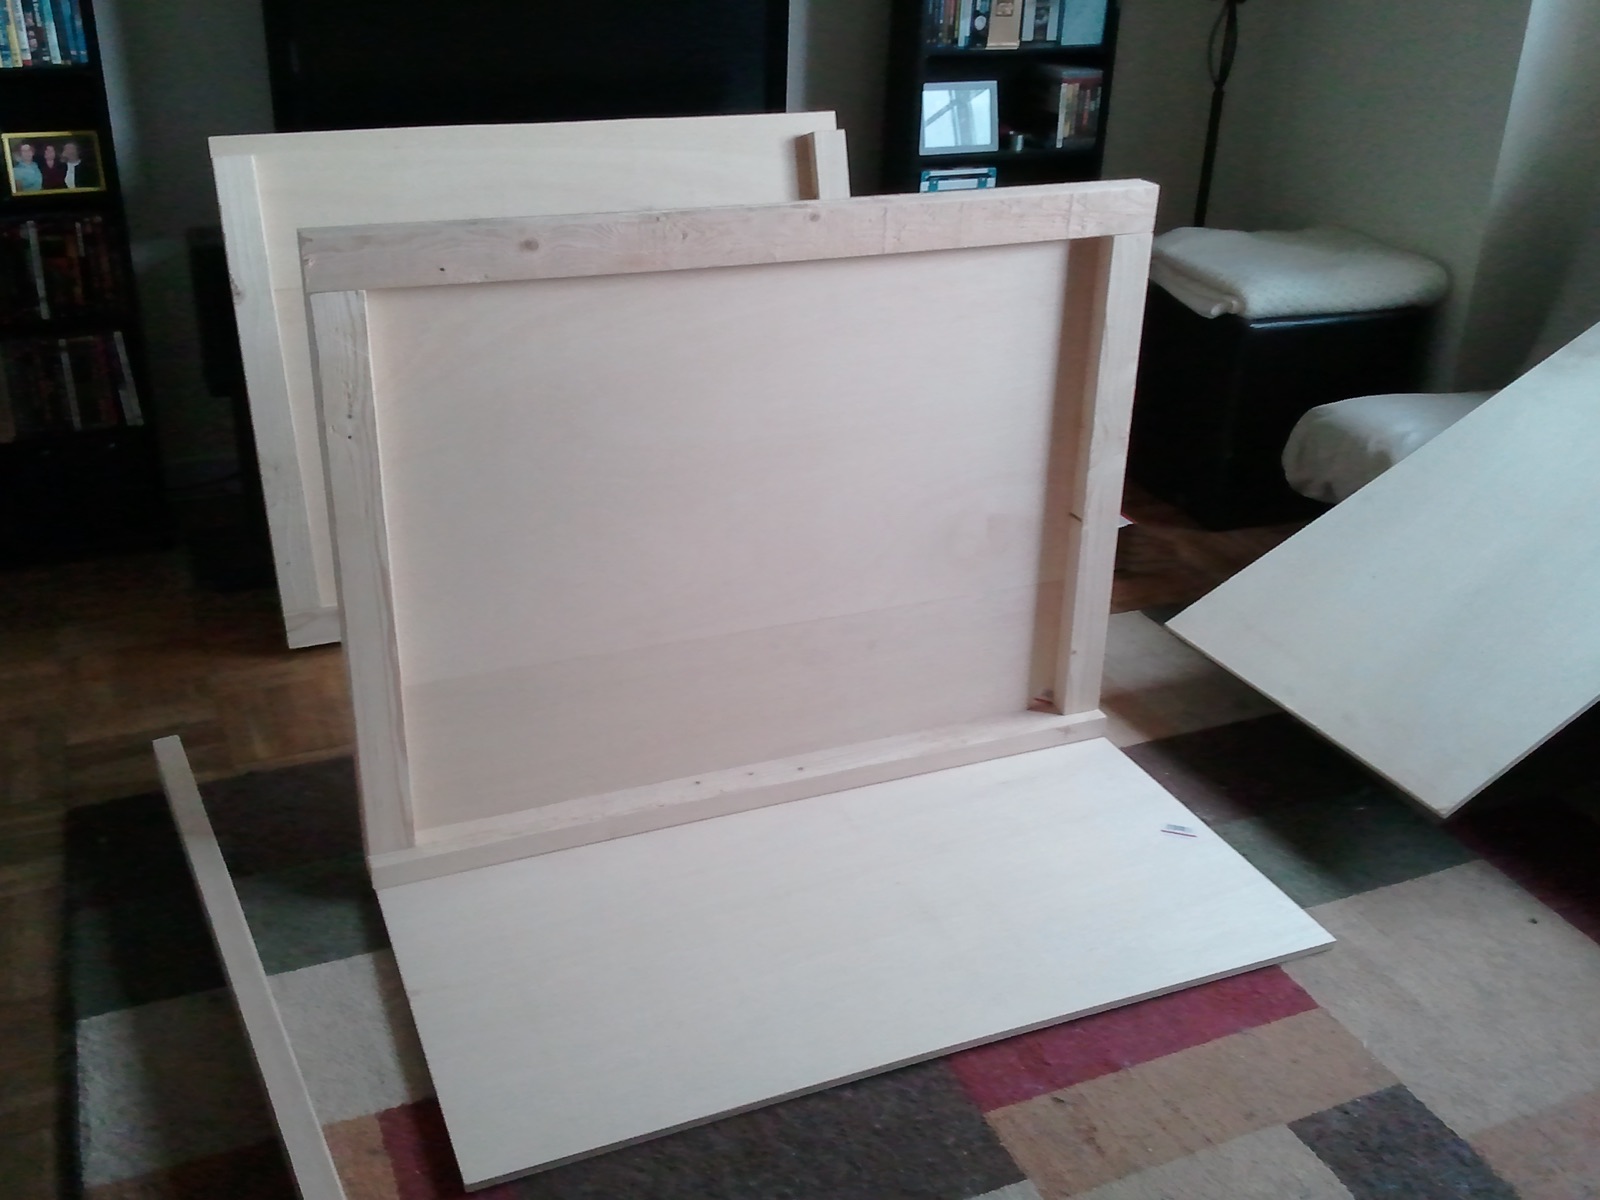
A wall, a floor, and the door
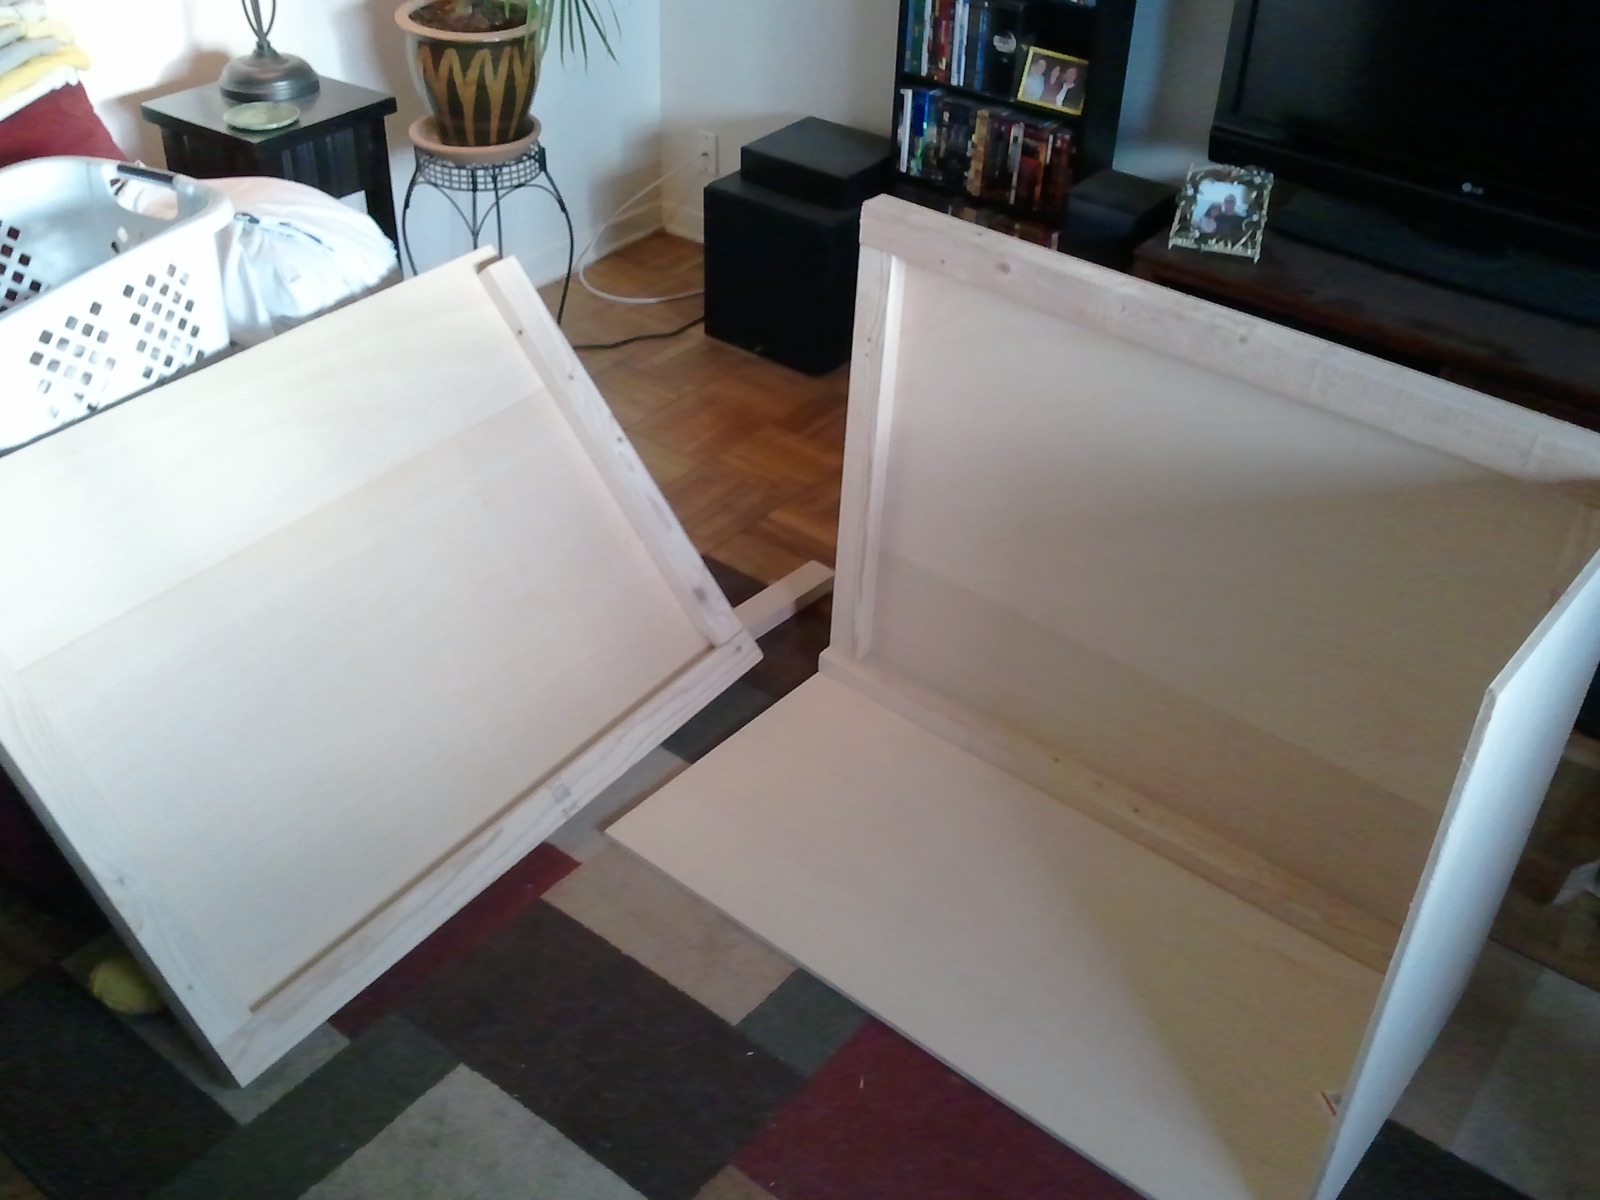
Two walls, a floor, and a door
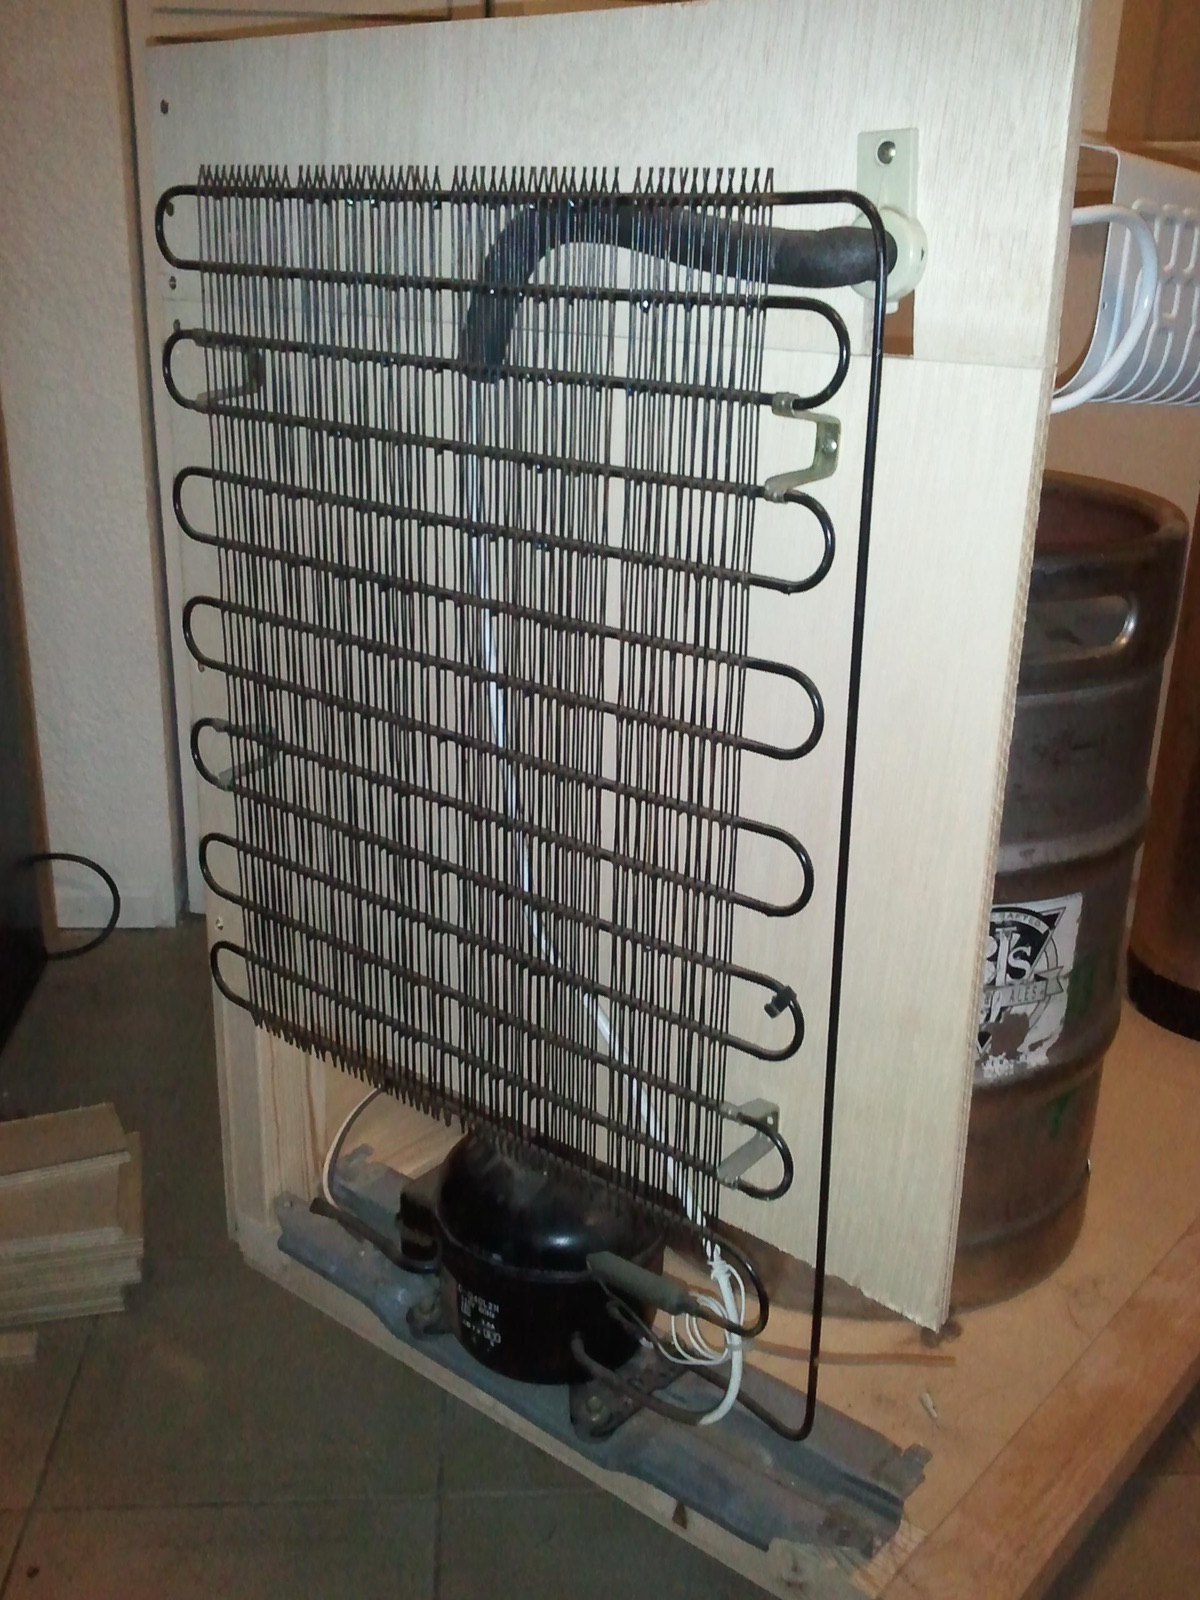
The previously extracted mini-fridge cooling system mounted in its new home
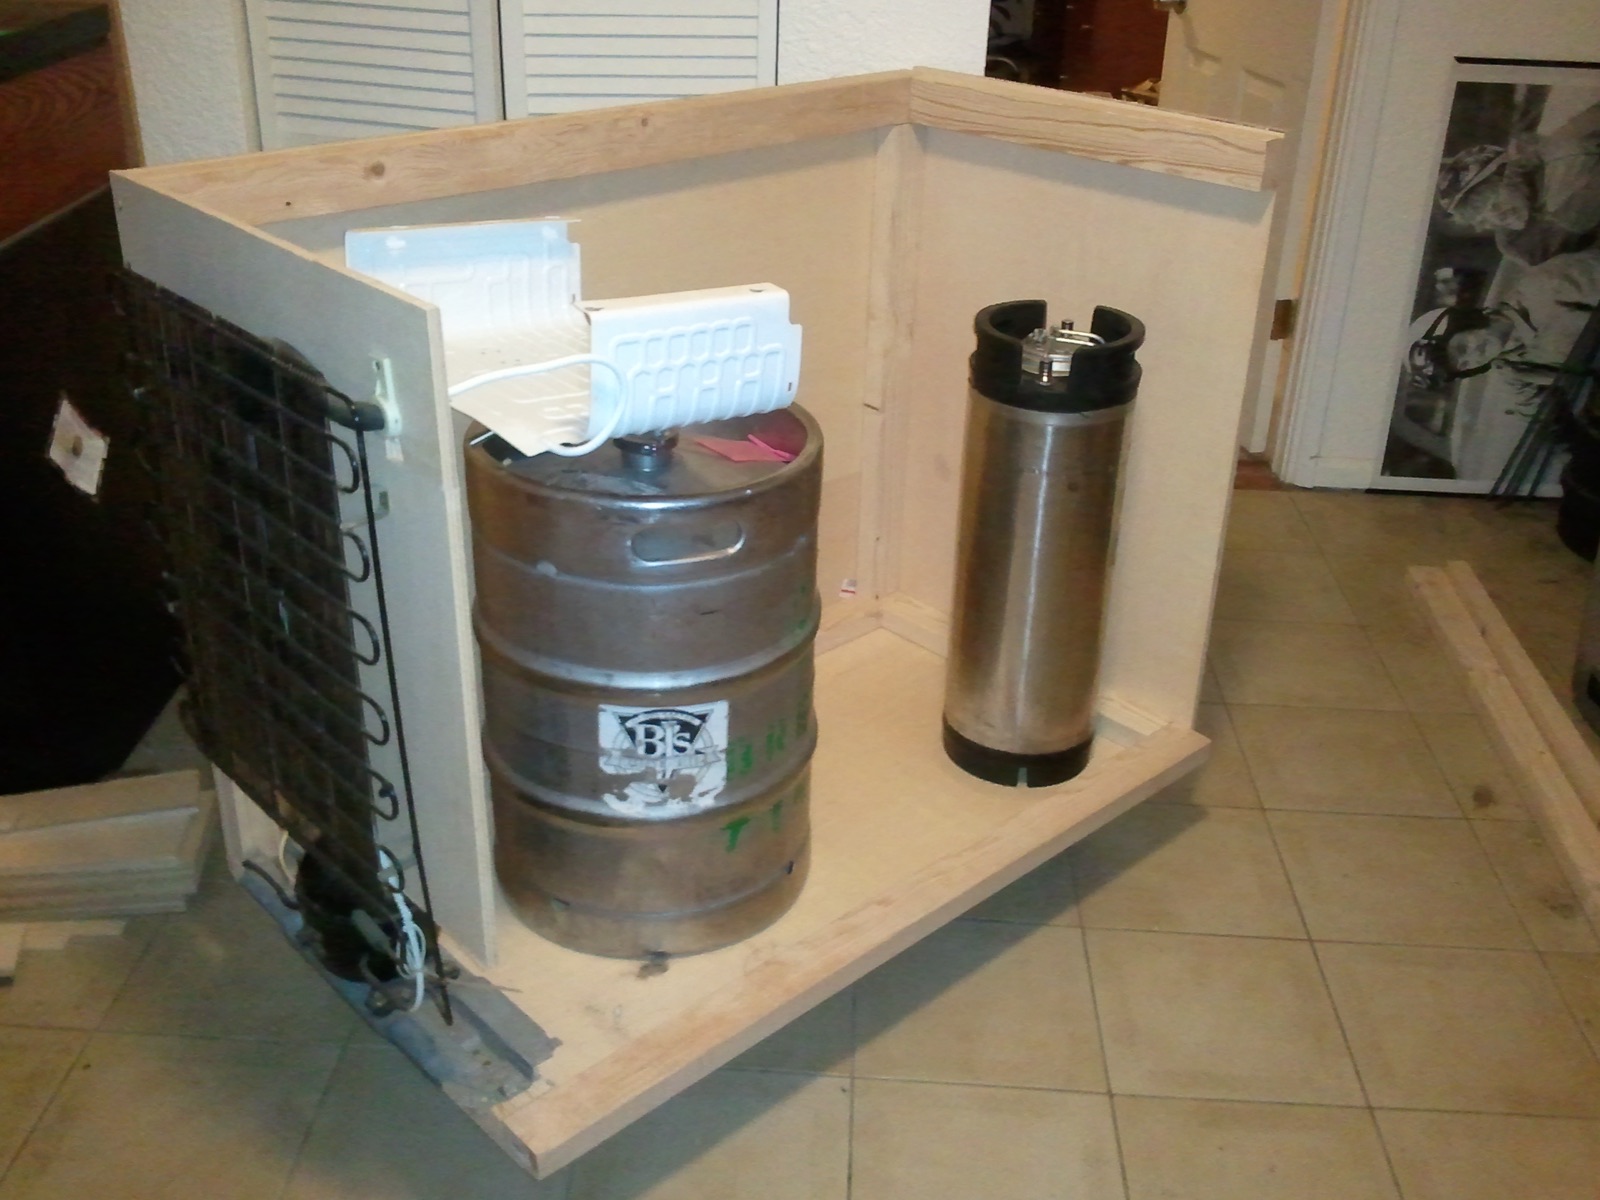
With things mostly in place, it was time to verify that everything was going to fit as desired.
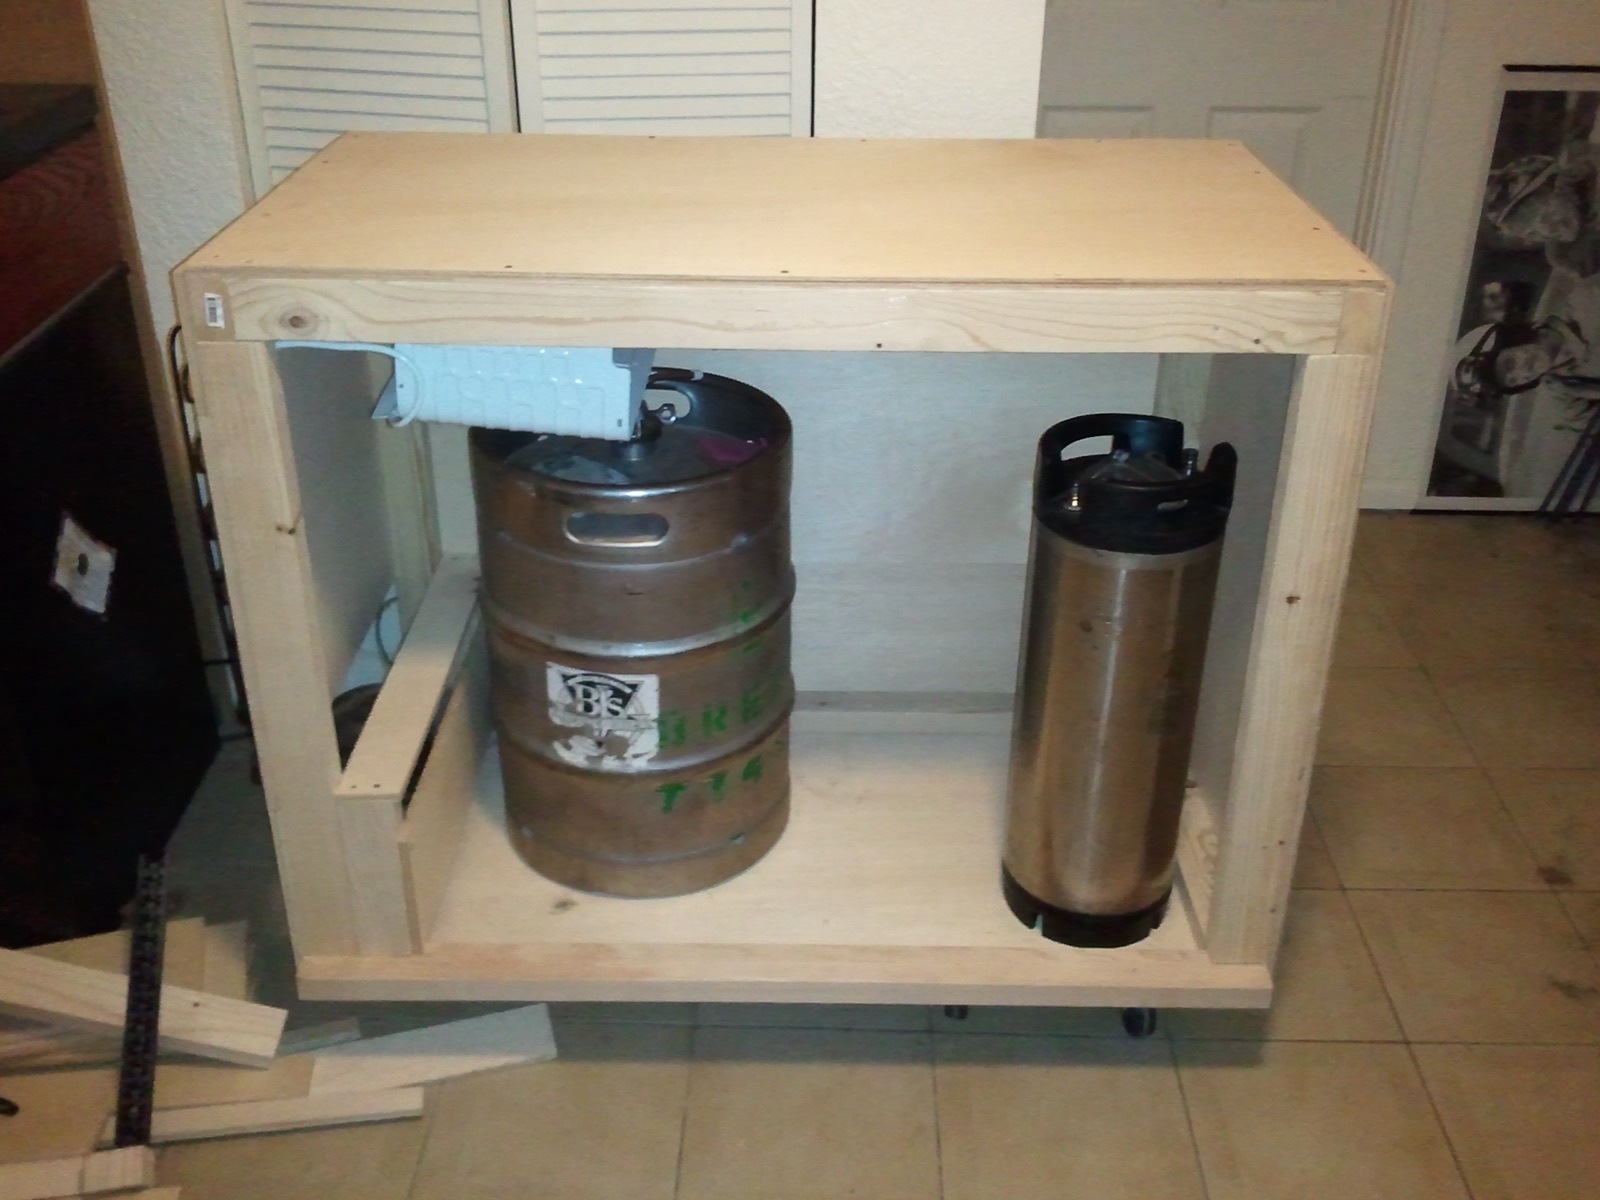
The roof is on, and there is some wood around the compressor, which will soon have insulation covering it.
At this point I apparently stopped taking pictures, but the next steps in finishing off the fermentation chamber involved:
- Cutting and adhering the insulation board to the wood, using Liquid Nails
- Bending the cooling plate to sit vertically and attaching it to the wall with screws through existing holds. I bent the line using a large can of tomatoes to make sure it didn’t kink.
- Adding the door. I was previously pictured a one piece, but I realised I wouldn’t be able to open it when it was inside the closet that it never actually went into. I now wish I had left it as one piece and might rebuild the door at some point.
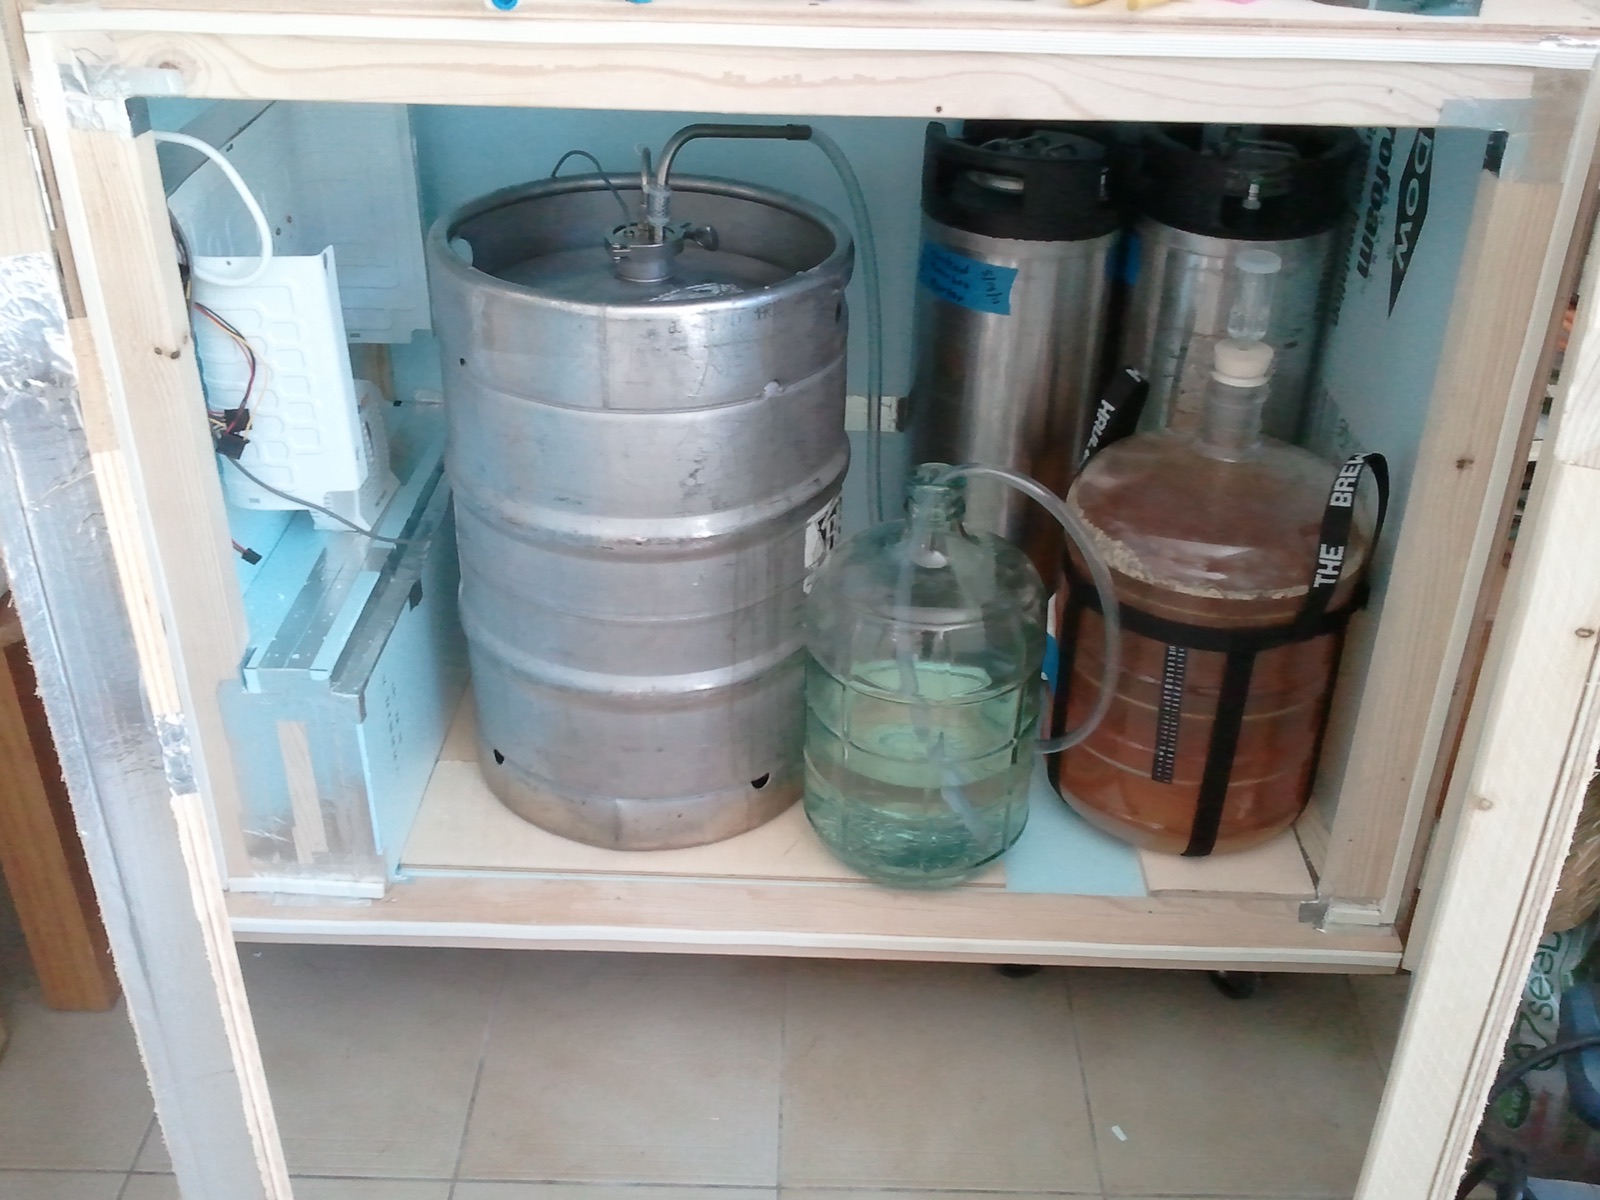
The fermentation chamber in action. A fermenting sanke of beer, a carboy of cider, and two corny kegs waiting to go on tap.
Fermentation Chamber Updates
In 2014 I moved to Michigan, and now required heating as well as cooling. My old single stage Ranco was no longer going to cut it, so I built a dual-stage controller using the popular STC-1000, a tool box to mount it all, and a Lasko 100 Personal Spacer Heater. The controller build included an always-on power supply that allowed me to add a fan that is constantly running, and one that comes on only with the cooling. No extra fans were added for the heater as it has its own built in.
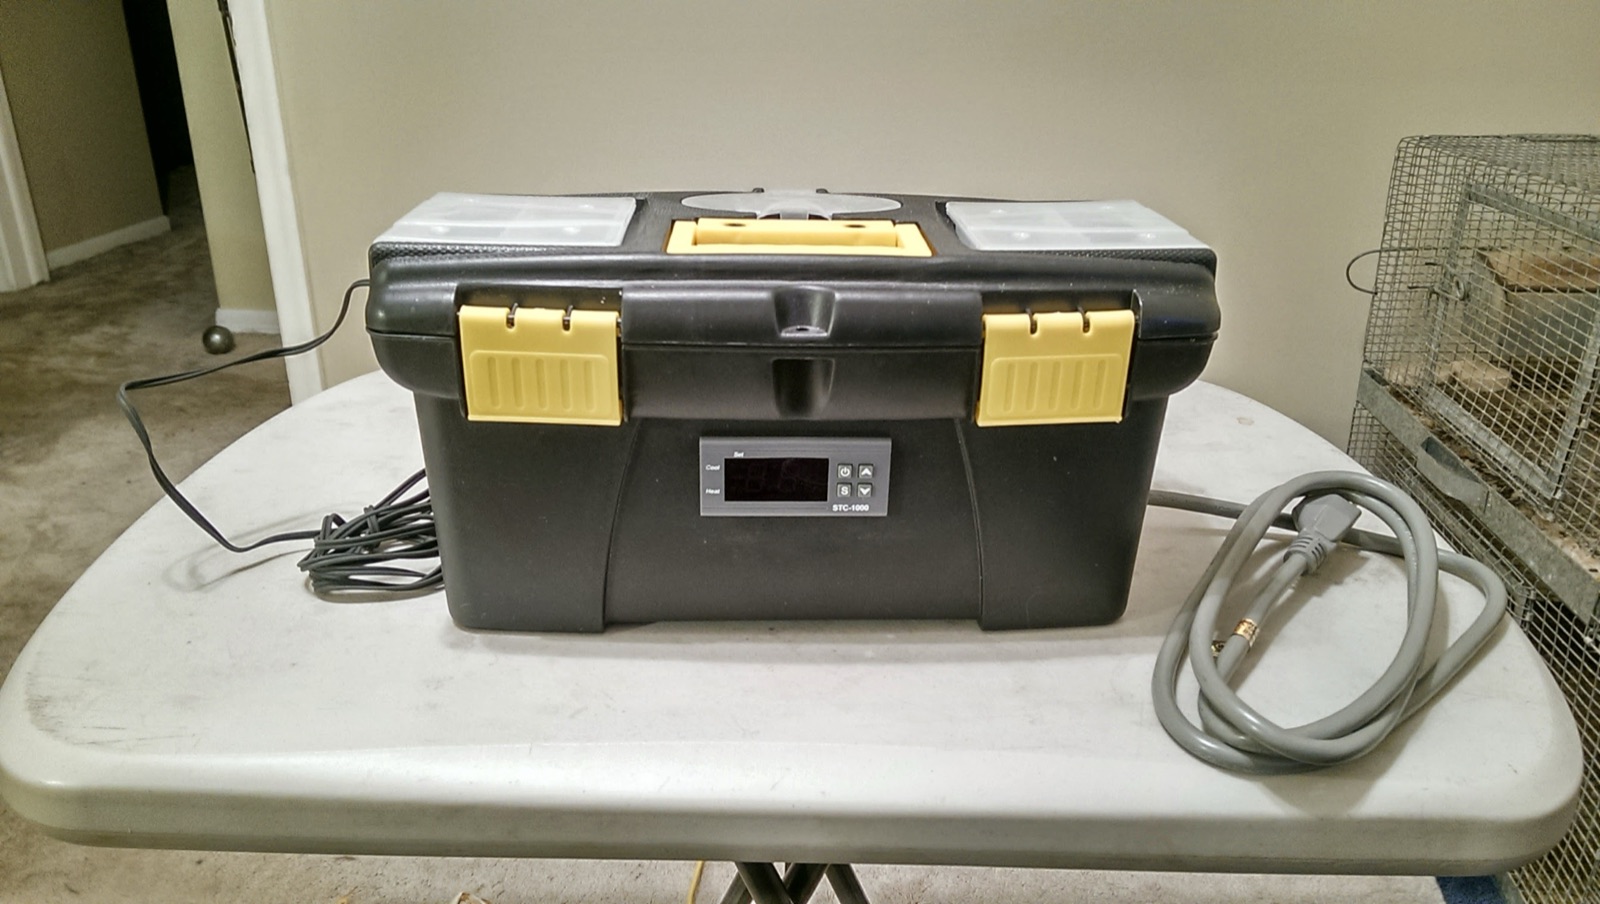
I mounted the STC-1000 in a Harbor Freight tool box.
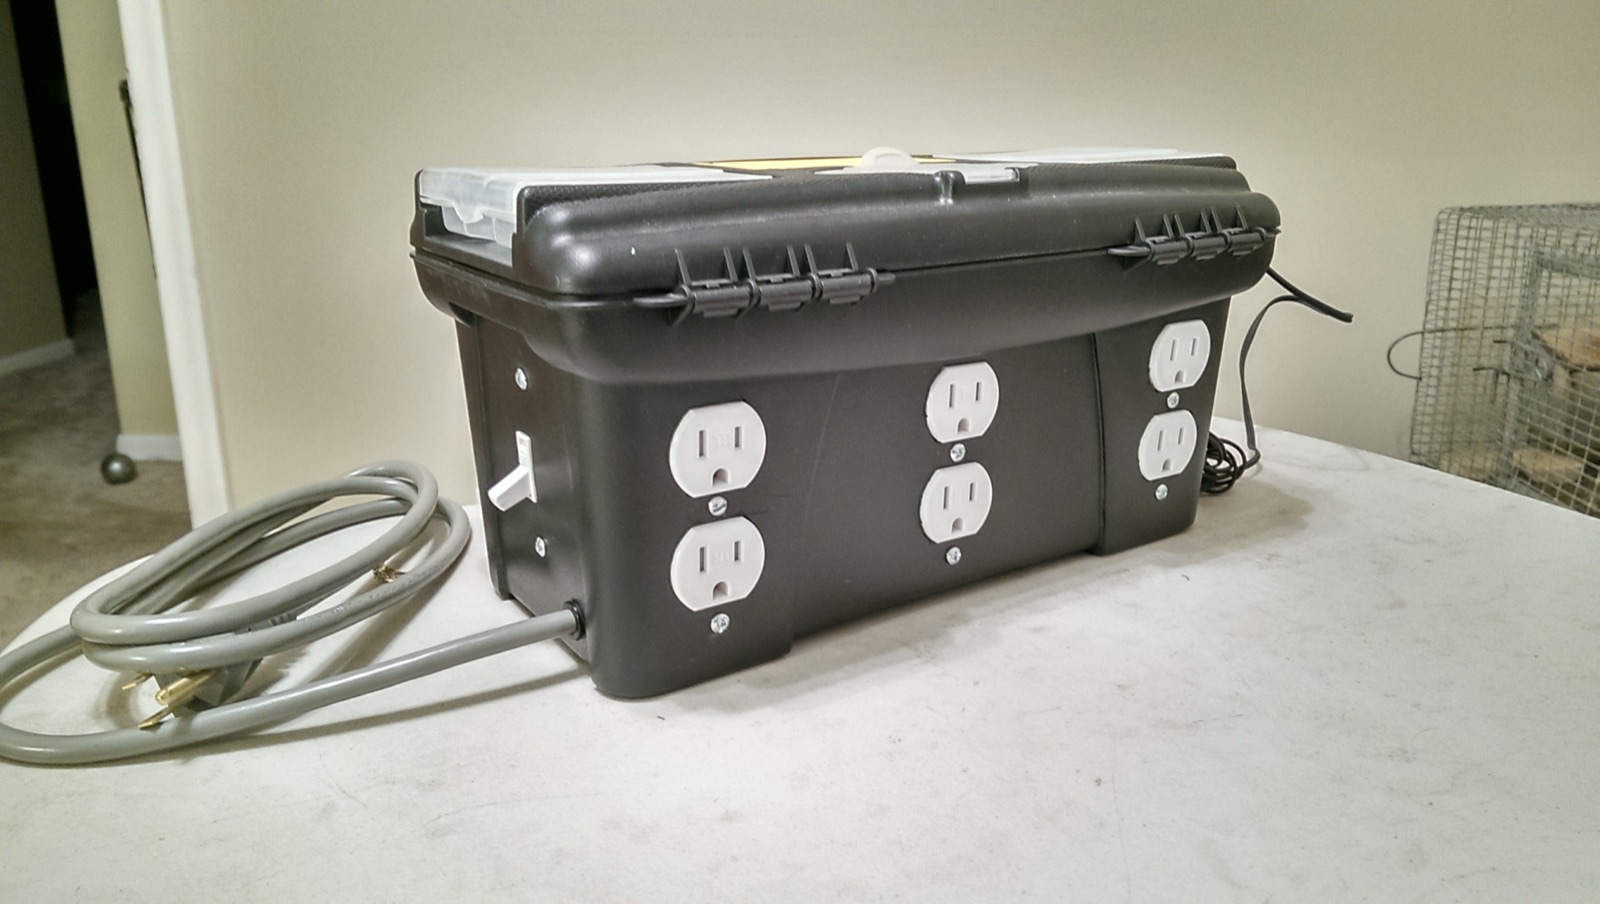
From left to right: master power on/off switch; always-on power; heating power; cooling power.
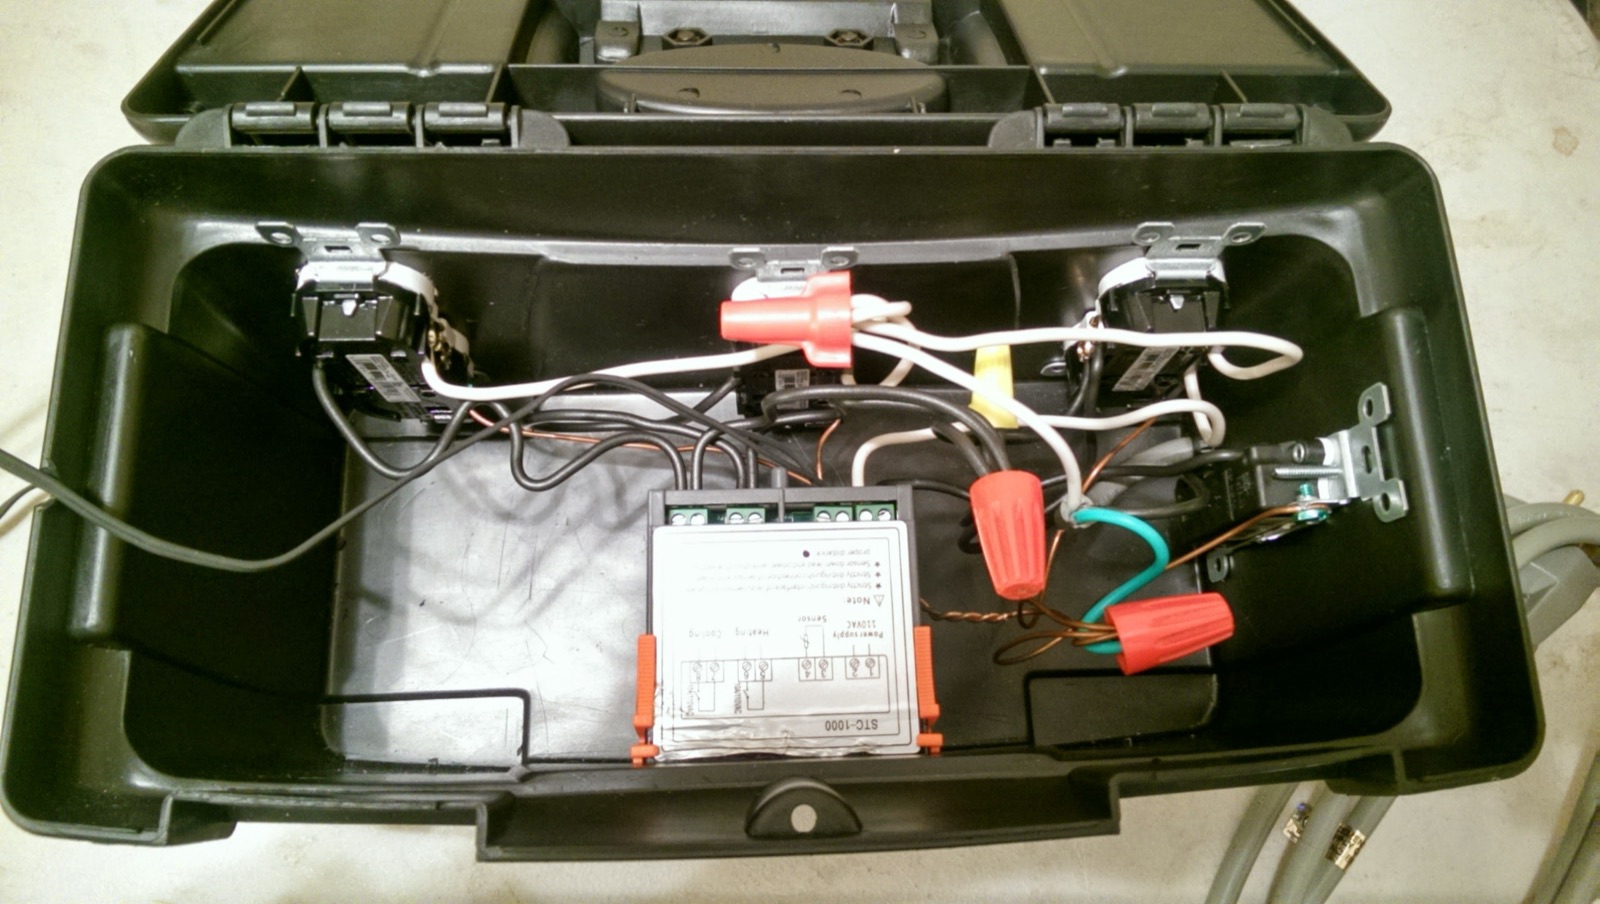
The wiring is not as difficult as it might look.
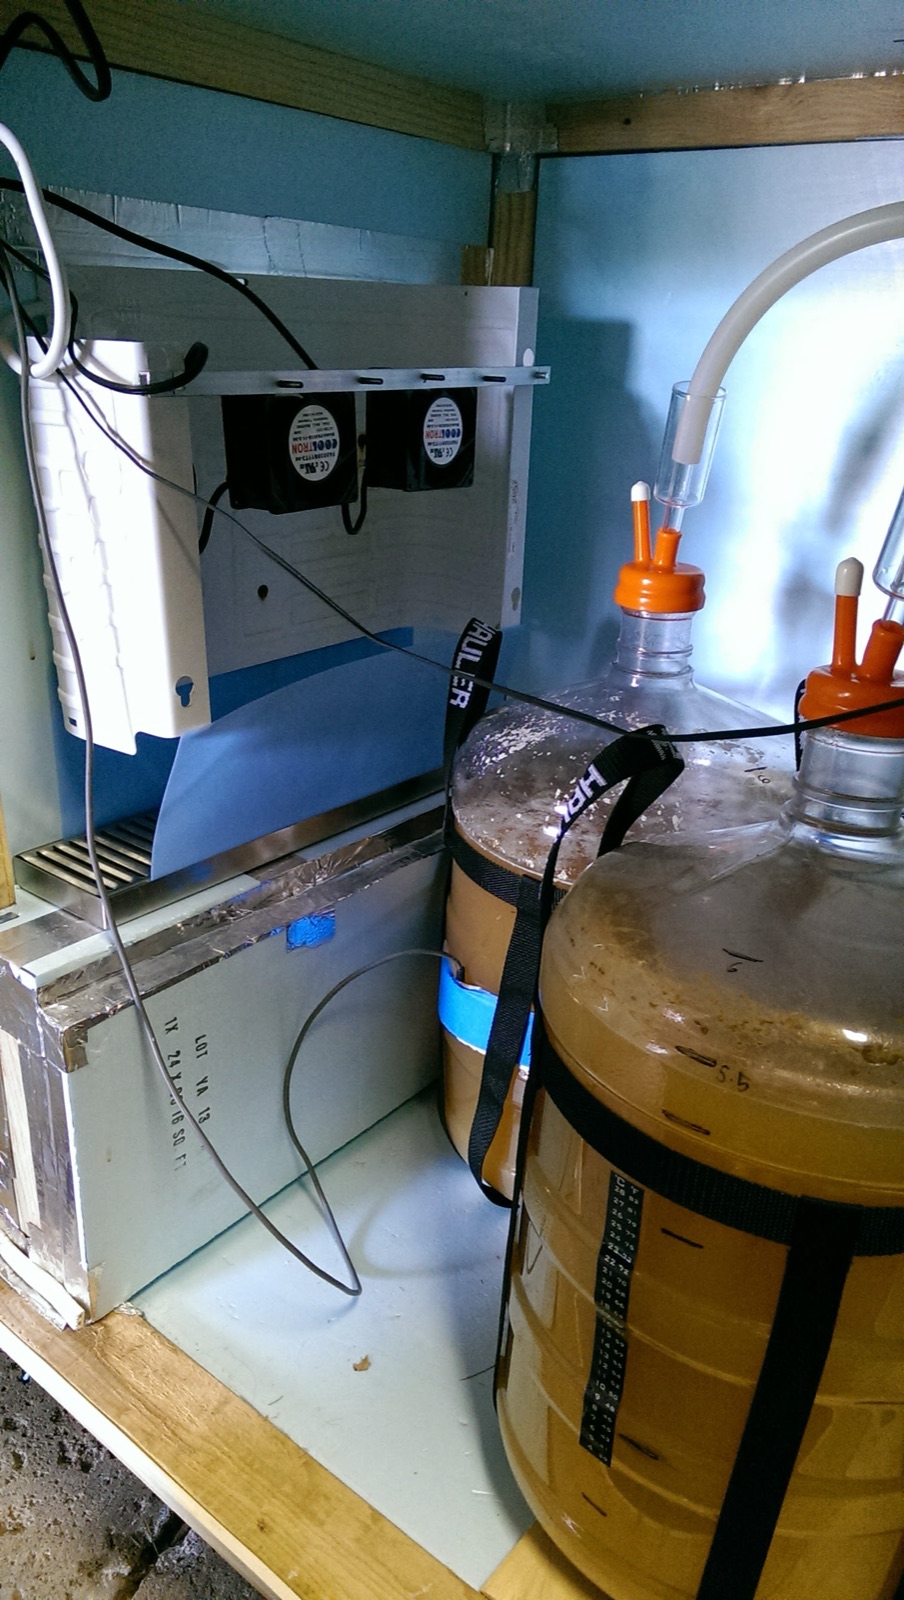
The left fan is always on, and the right fan kicks on with the cooling system.
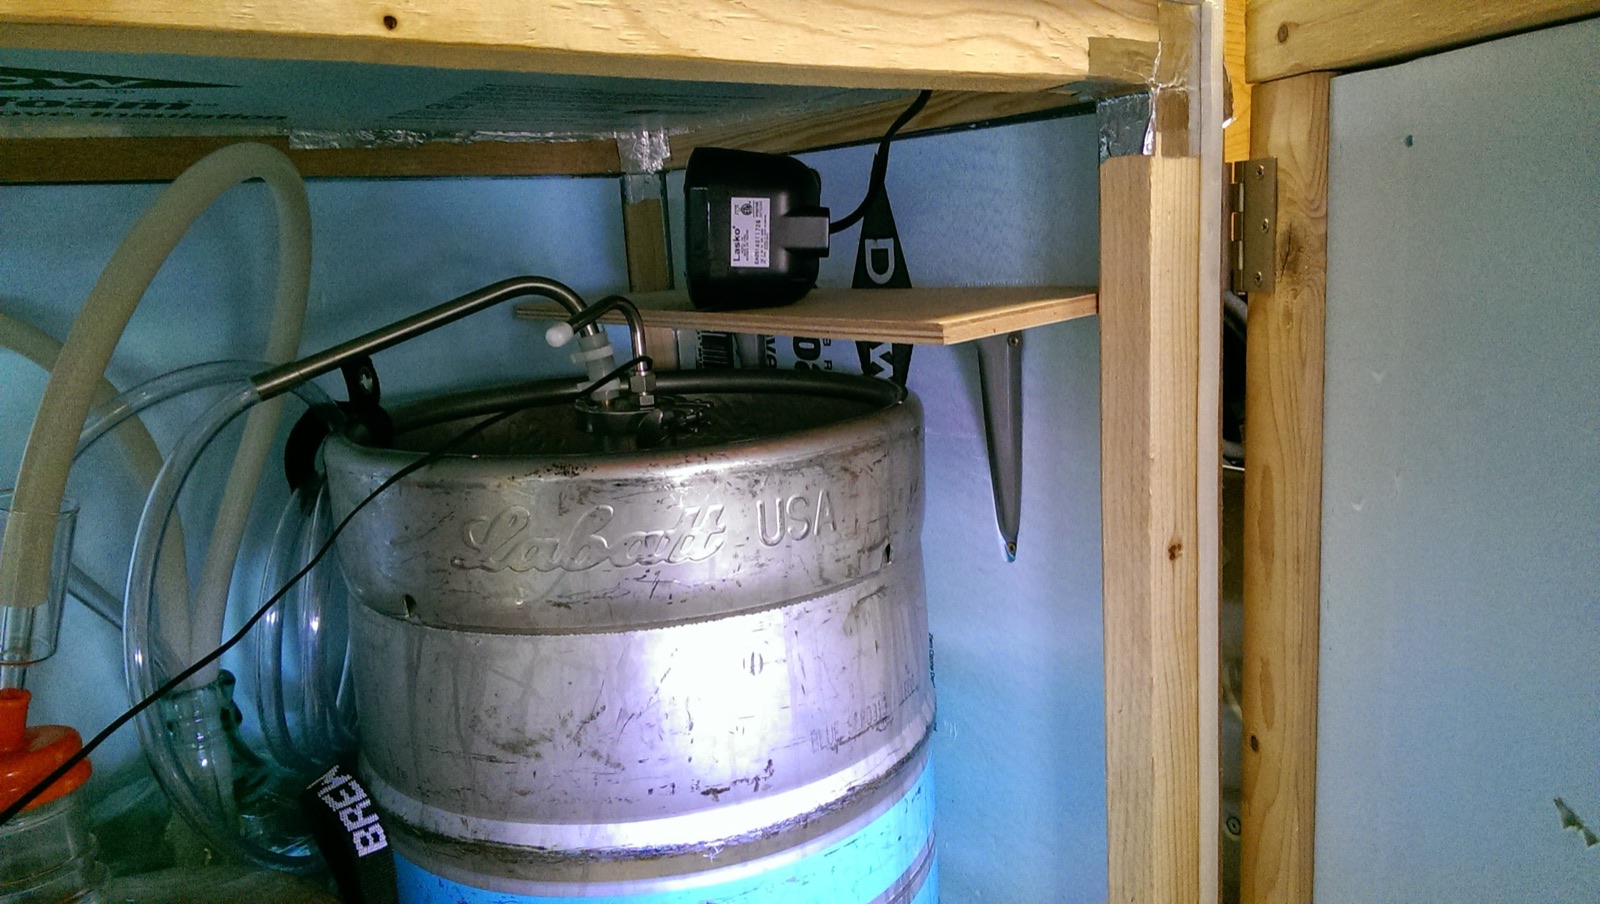
A single shelf to sit the heater on. I wanted it mounted above the vessels, as the heater blowing right on the fermentors would heat them up too much.
1 Yes I am aware of recent experiments that may indicate that it is not quite as critical as we might think, but the data sets are small (a stated limitation by the experimenter), and I believe that what we see is more the importance of a consistently temperature controlled environment. My own anecdotal evidence with heavy ester producing yeasts, like WLP300, show that an increase in temperature can produce more of the desired ester if temperature is ramped up over the course of fermentation.
This looks rad! I would never advocate for brewers to stop controlling fermentation temps, I still do so myself (though I no longer pitch cool). I'm stoked to continue my search for what makes bad beer bad. Cheers!
Hopefully I didn't imply that was your take home message, I know you'd never say such a thing :) I believe it is more about temperature consistency than the temperature itself. I amended the footnote to more accurately reflect that.
Not at all! We've got a few temp consistency xBmts planned :)
Can't wait to see the results!